DIY (for kids): Making a cardboard box airplane (tutorial)

Hi all!
We hope you all are doing well. We are currently on holidays, enjoying the sunny days at home, doing many things we are not able to do normally because of the lack of time. If you are lucky enough to have some holidays and to spend them with your beloved ones, we wish you a relaxing and calm end of August.
Because of the global pandemic, we have finally decided to stay at home these days. We are enjoying the garden, spending as much as possible quality time with the kids, reading as much as we can and doing some craft and DIY projects at home.
We’re finally starting the DIY section then with some fun, showing you how to create a cardboard box airplane from scratch. We hope you’ll enjoy this tutorial. From now, the DIY section will be divided into three different types of blog posts:
DIY (generic posts): about Do it yourself projects mainly for adults.
DIY (for kids): about Do it yourself projects we can easy make at home for kids.
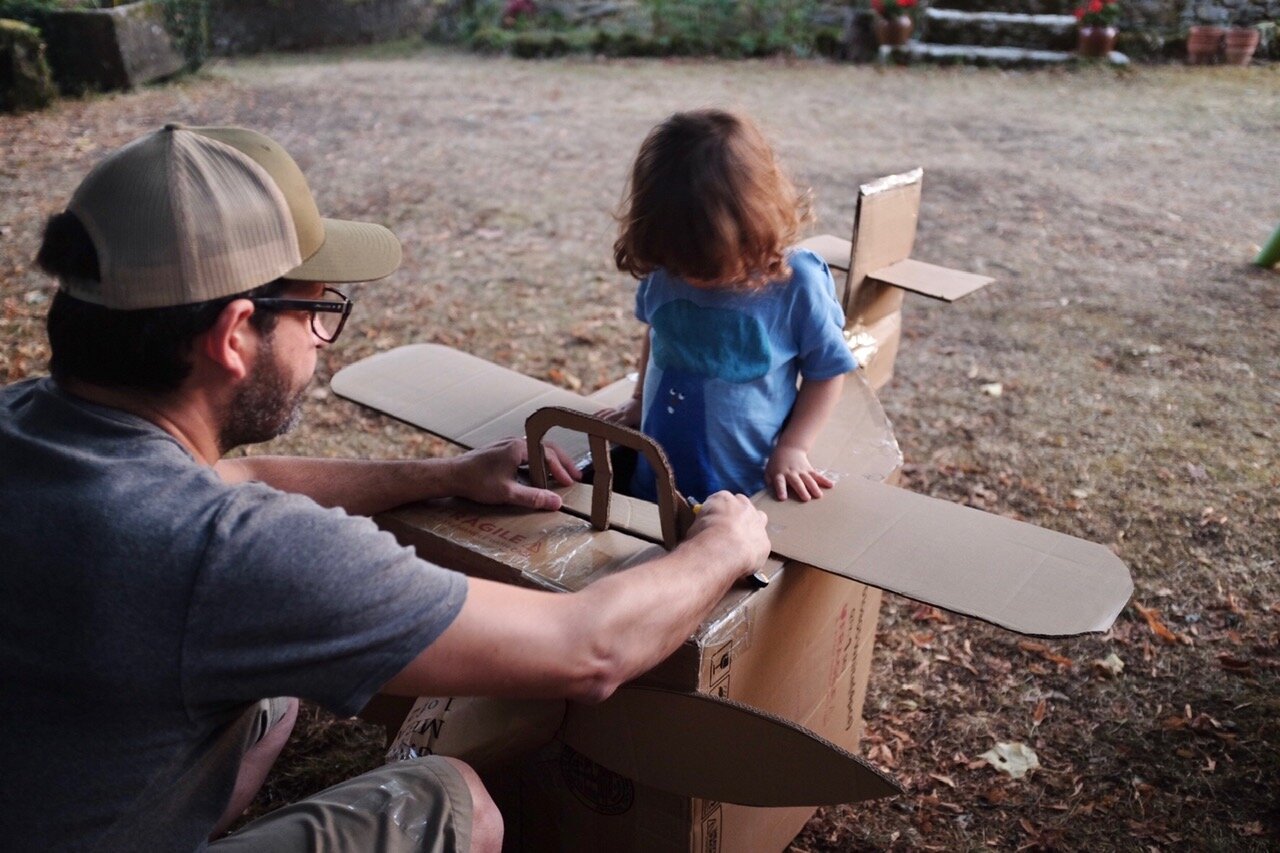
DIY (with kids): about Do it yourself projects we can try at home with kids, letting them to enjoy and play around at the same time we create it.

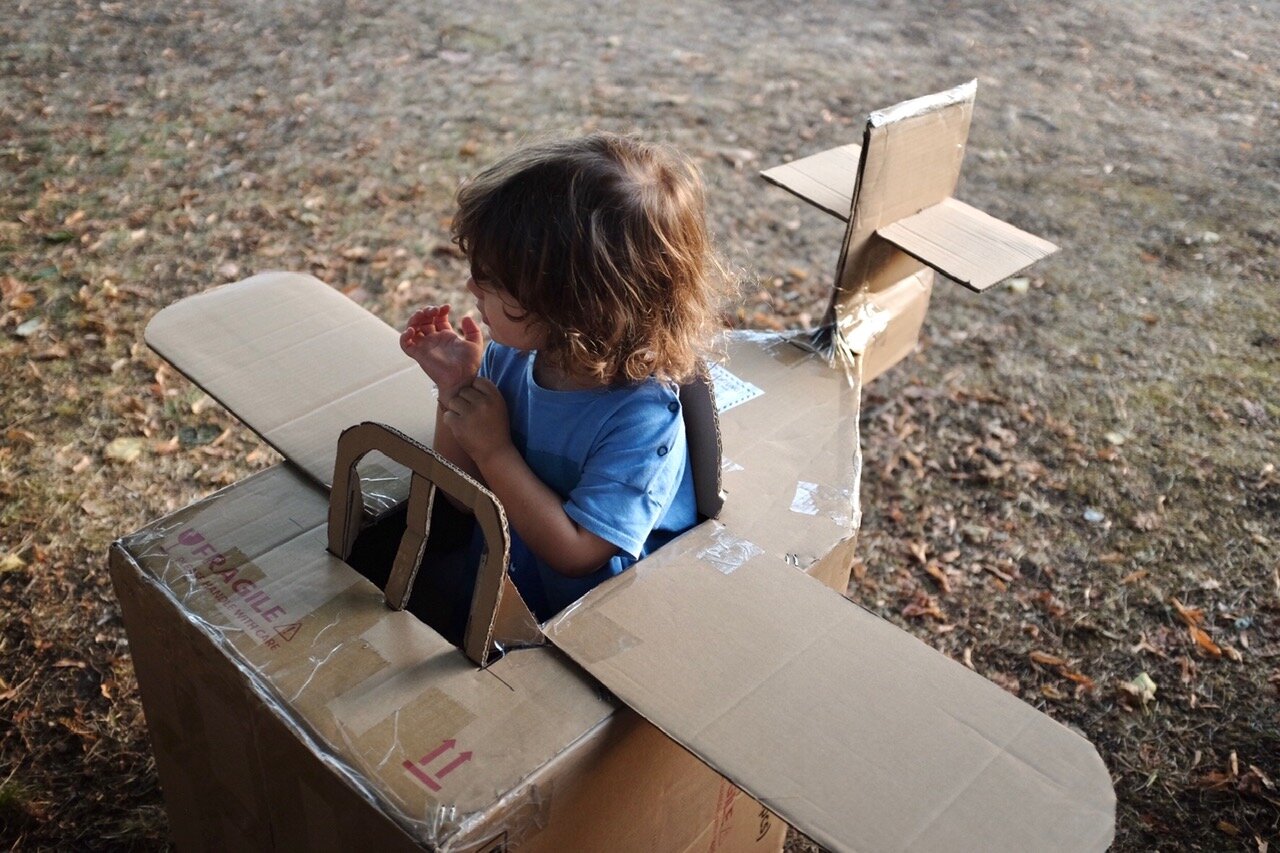
Here we go with the cardboard box airplane tutorial!
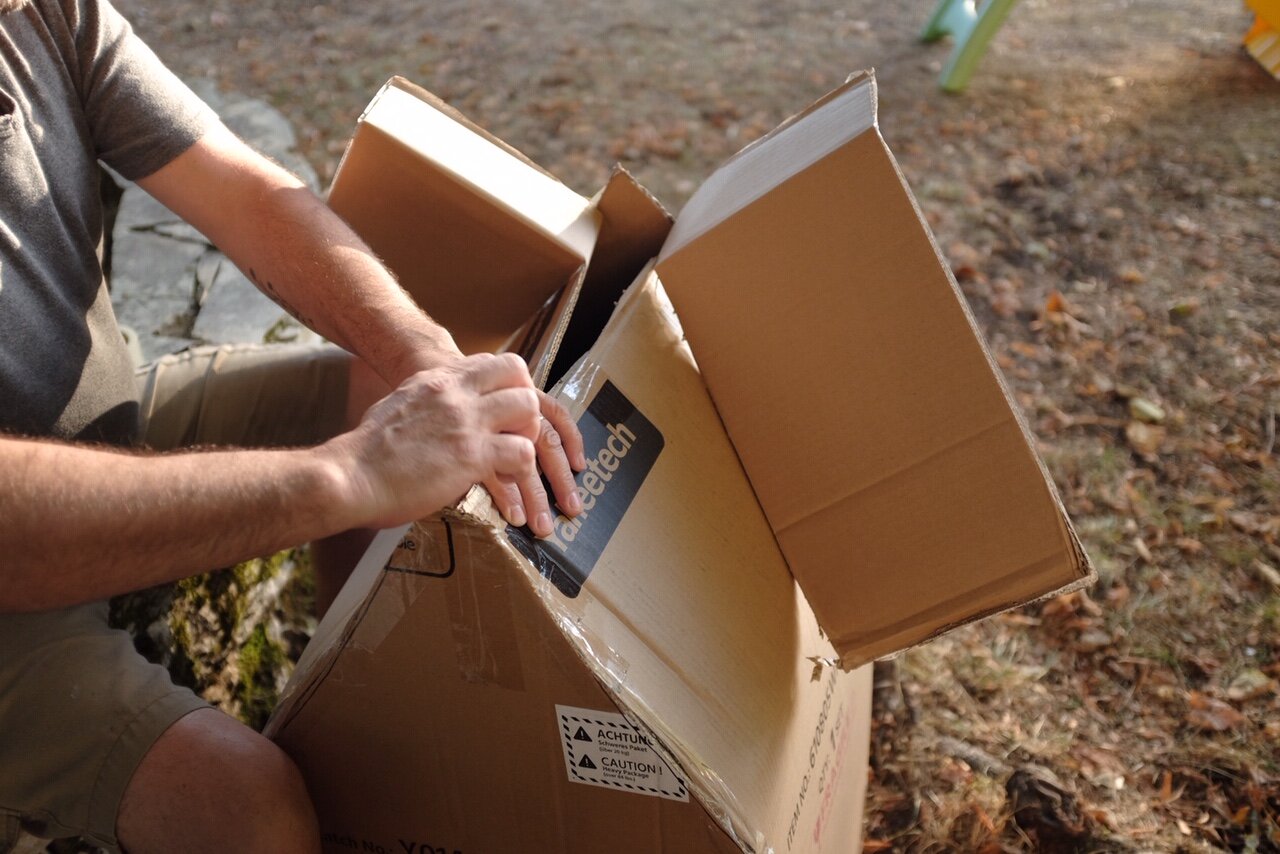
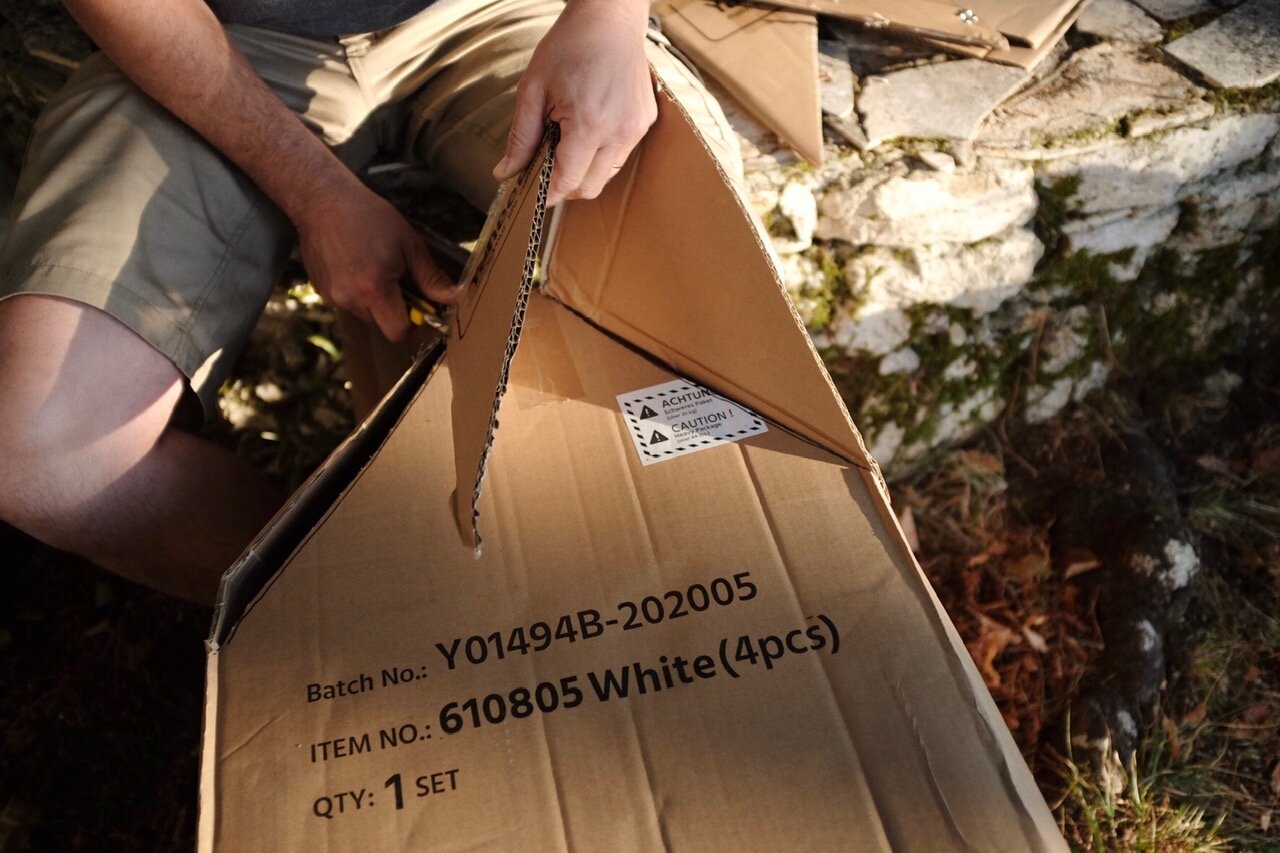
Look for a rectangular box big enough to let your kid to play inside of it.
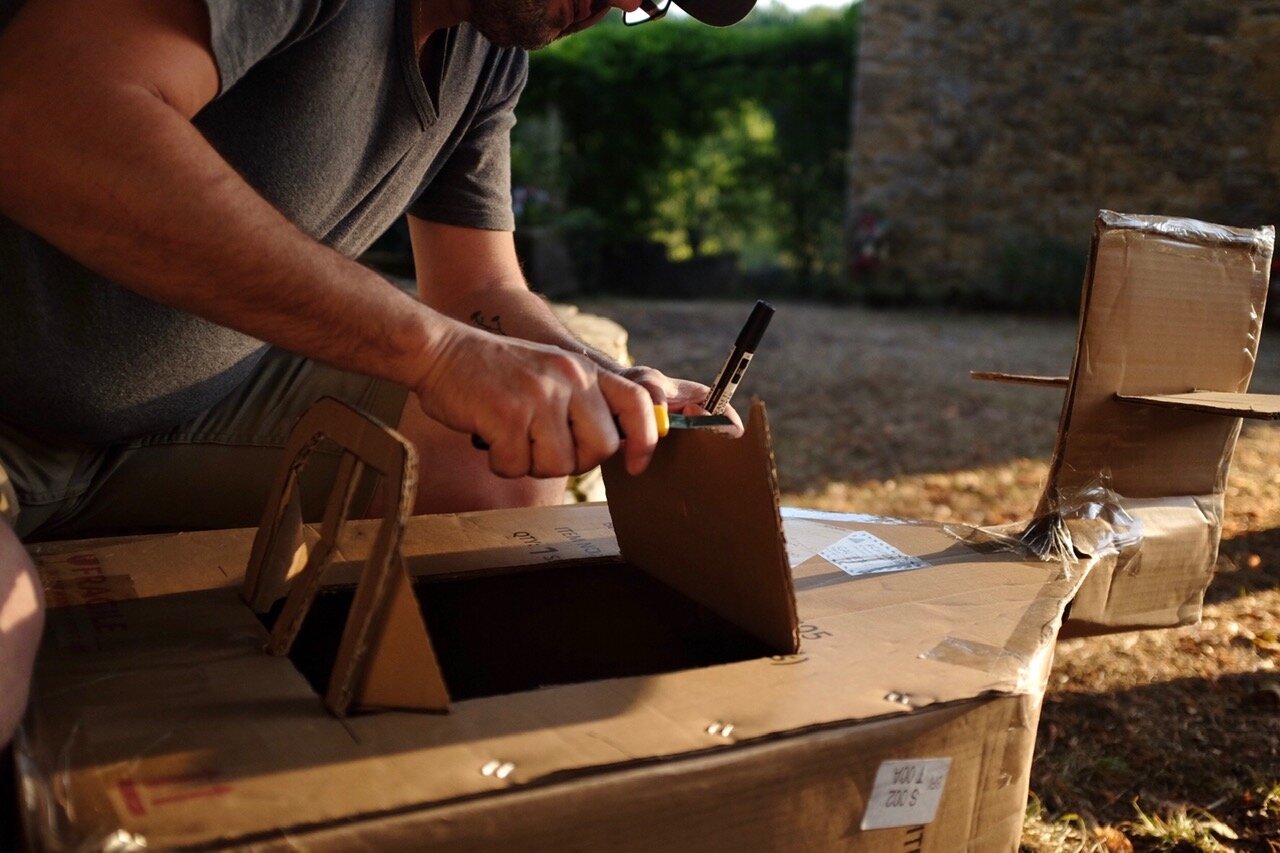
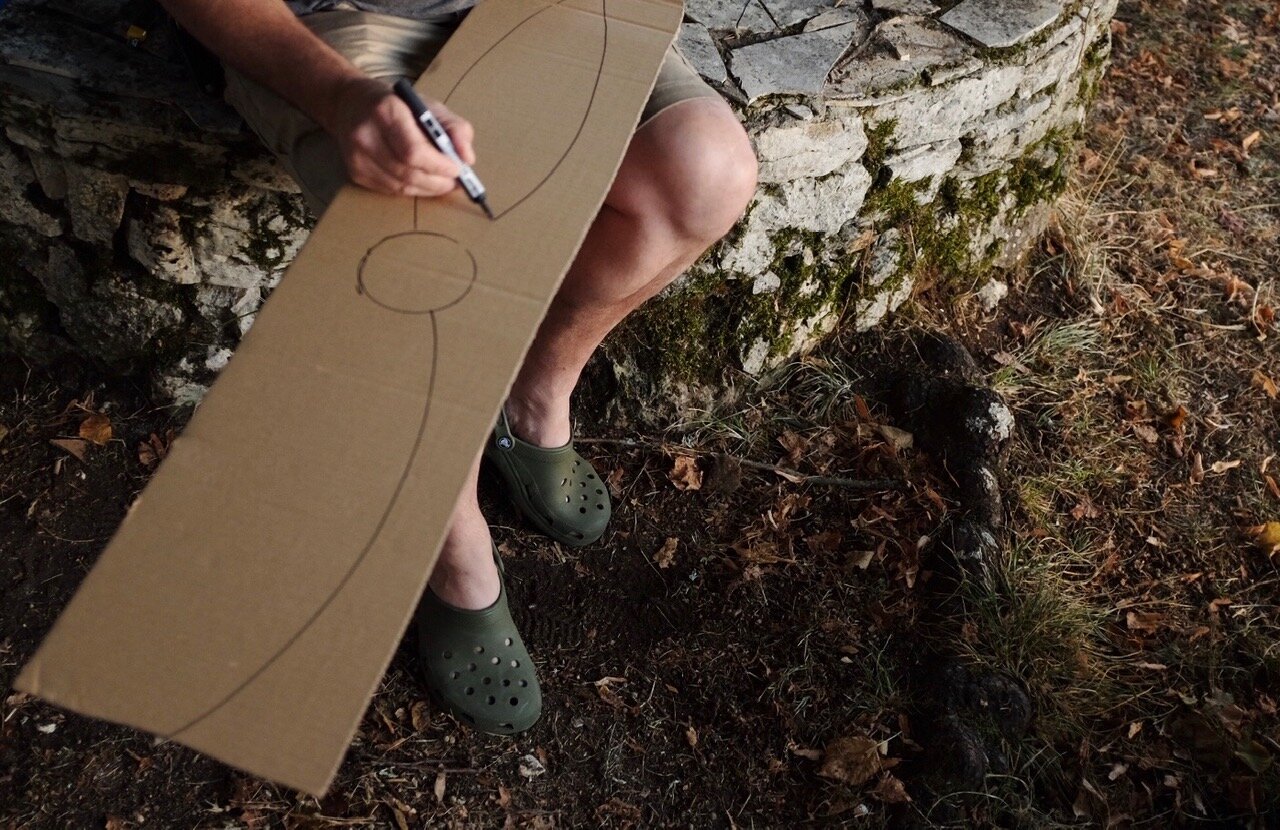
Cut and transform one of the sides of the box. Get a triangular shape as in the pictures below.
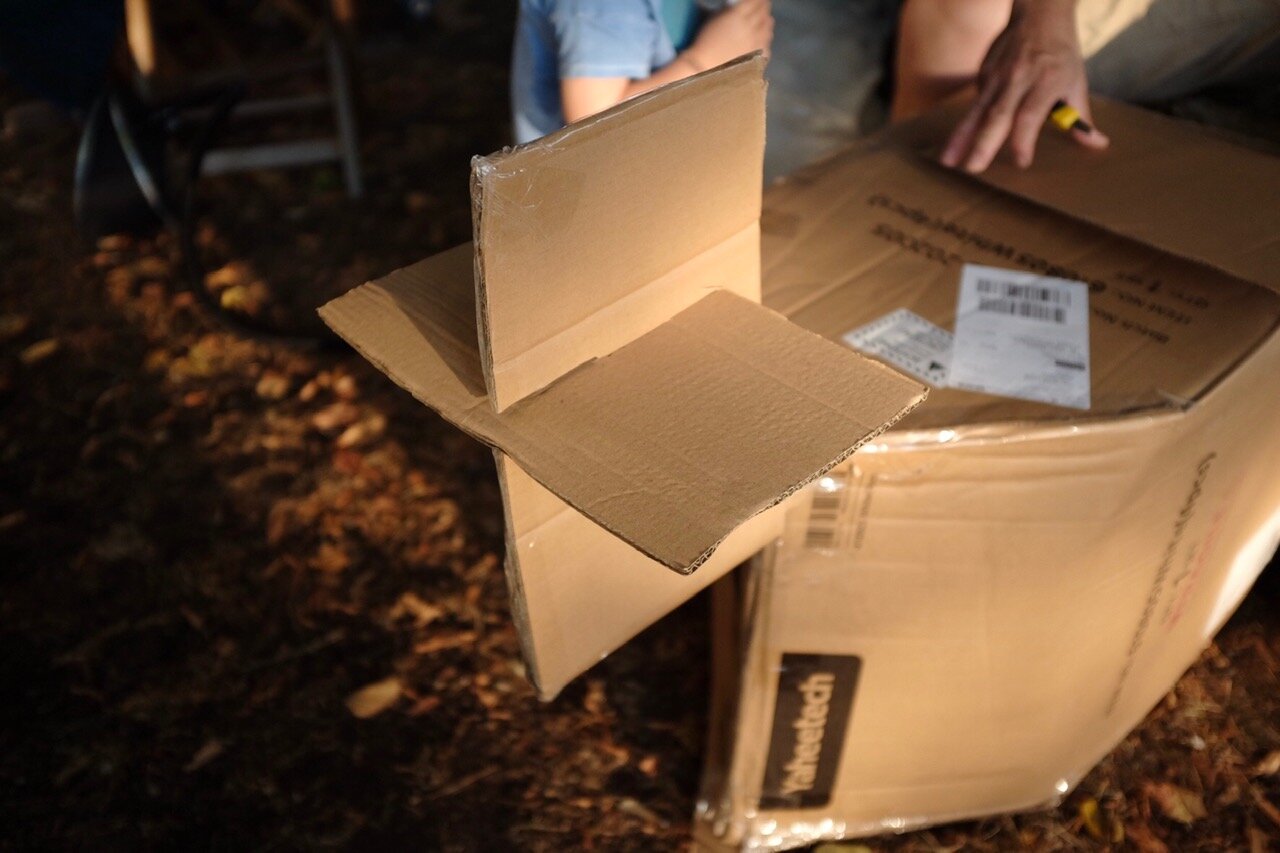
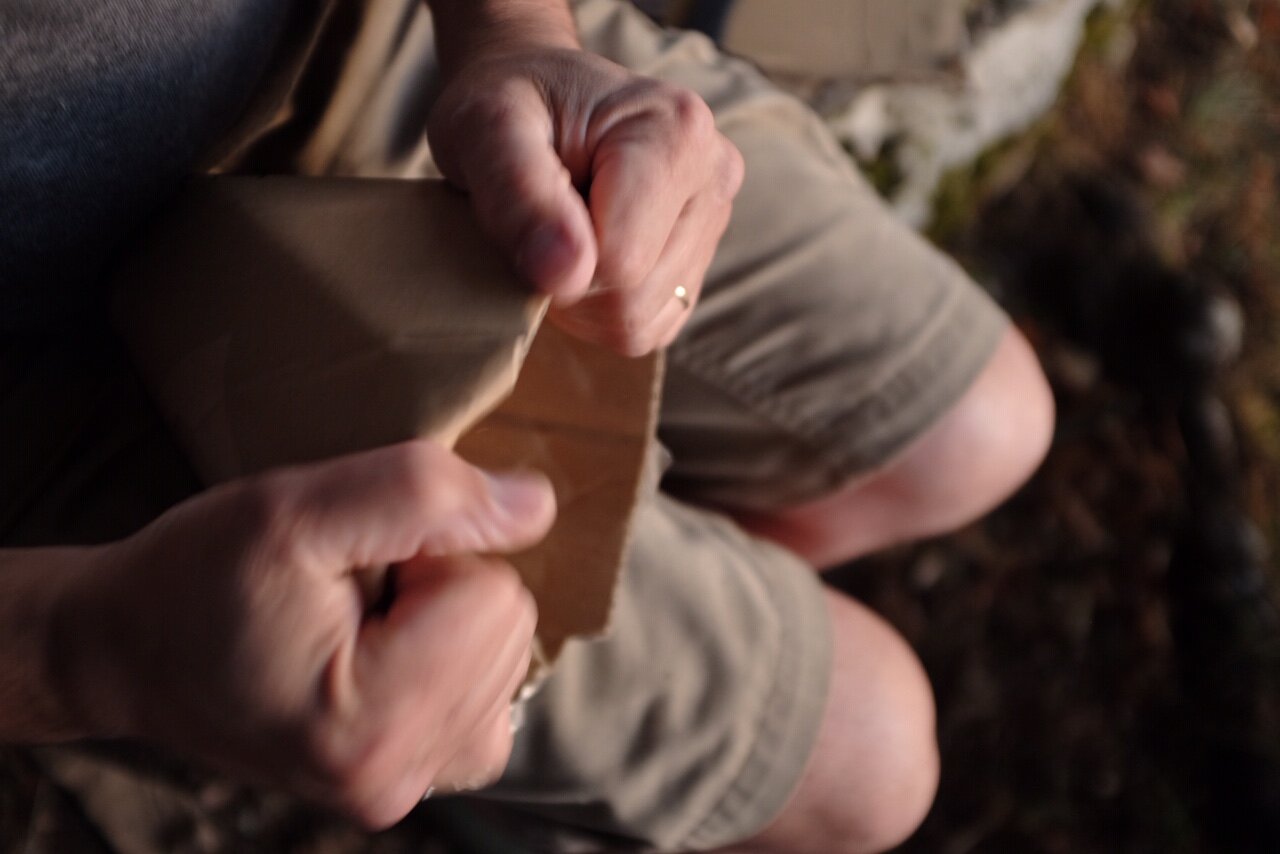
Take the side transformed into a triangle shape and cut the cardboard into two equal strips.
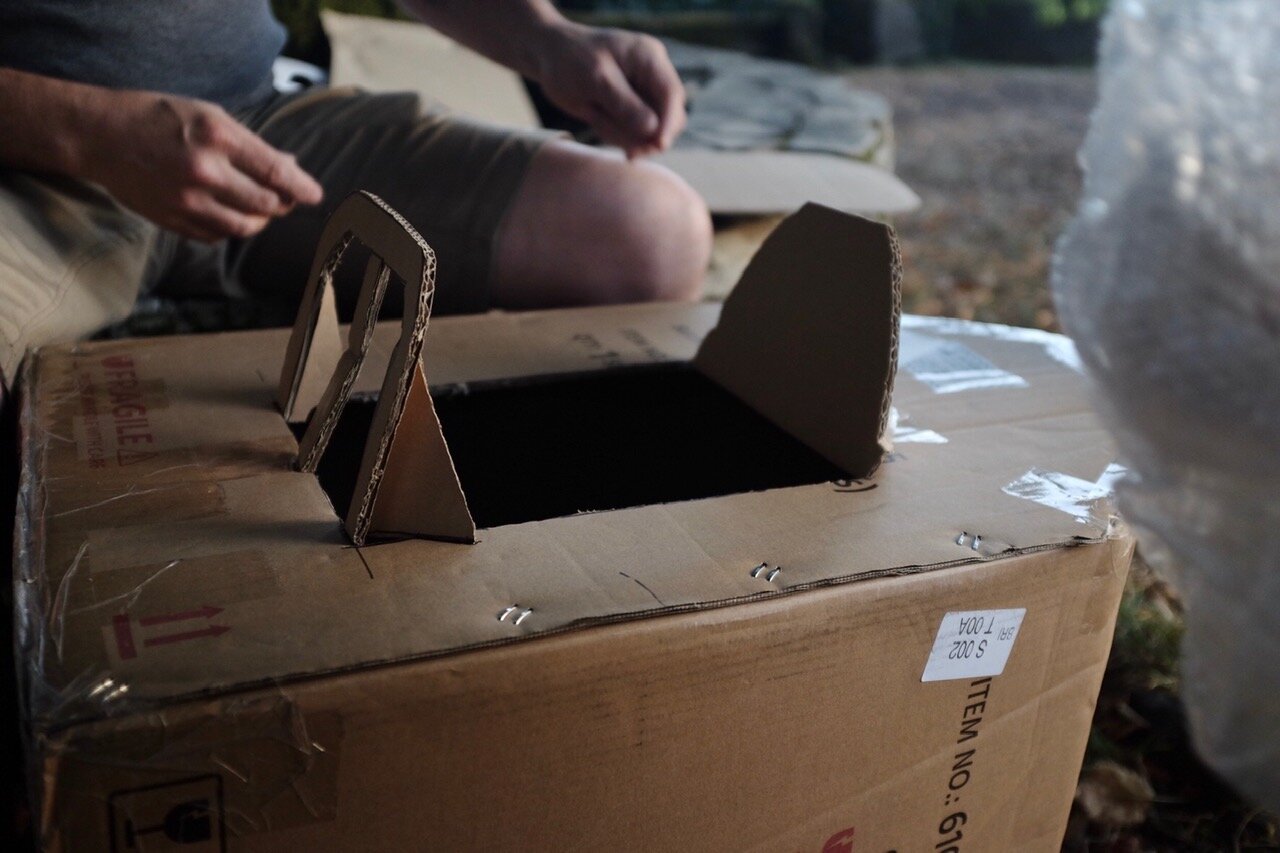
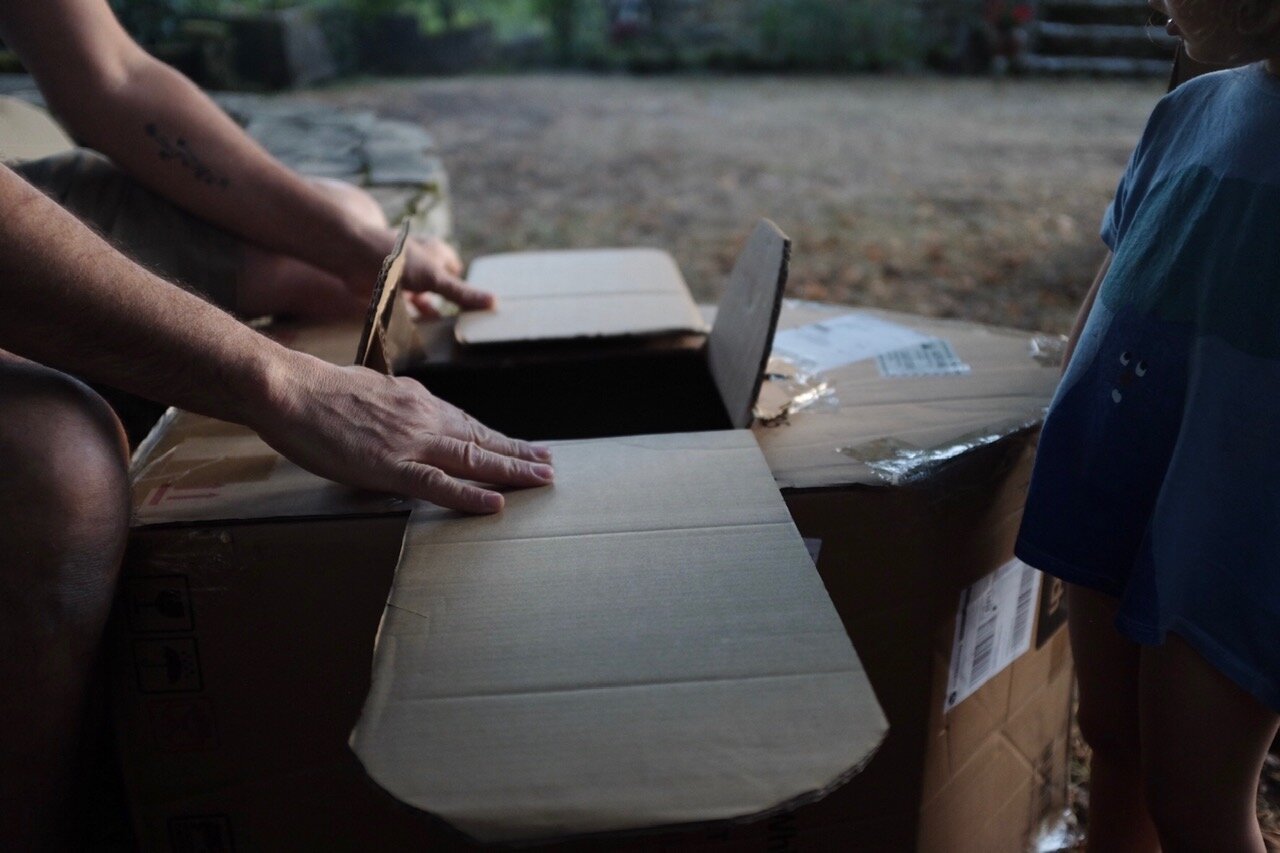
Put together both strips with some scotch and cut a horizontal slit in the triangle. Add a rectangular peace of cardboard in the middle of the rectangular cutting it with the help of a cutter.
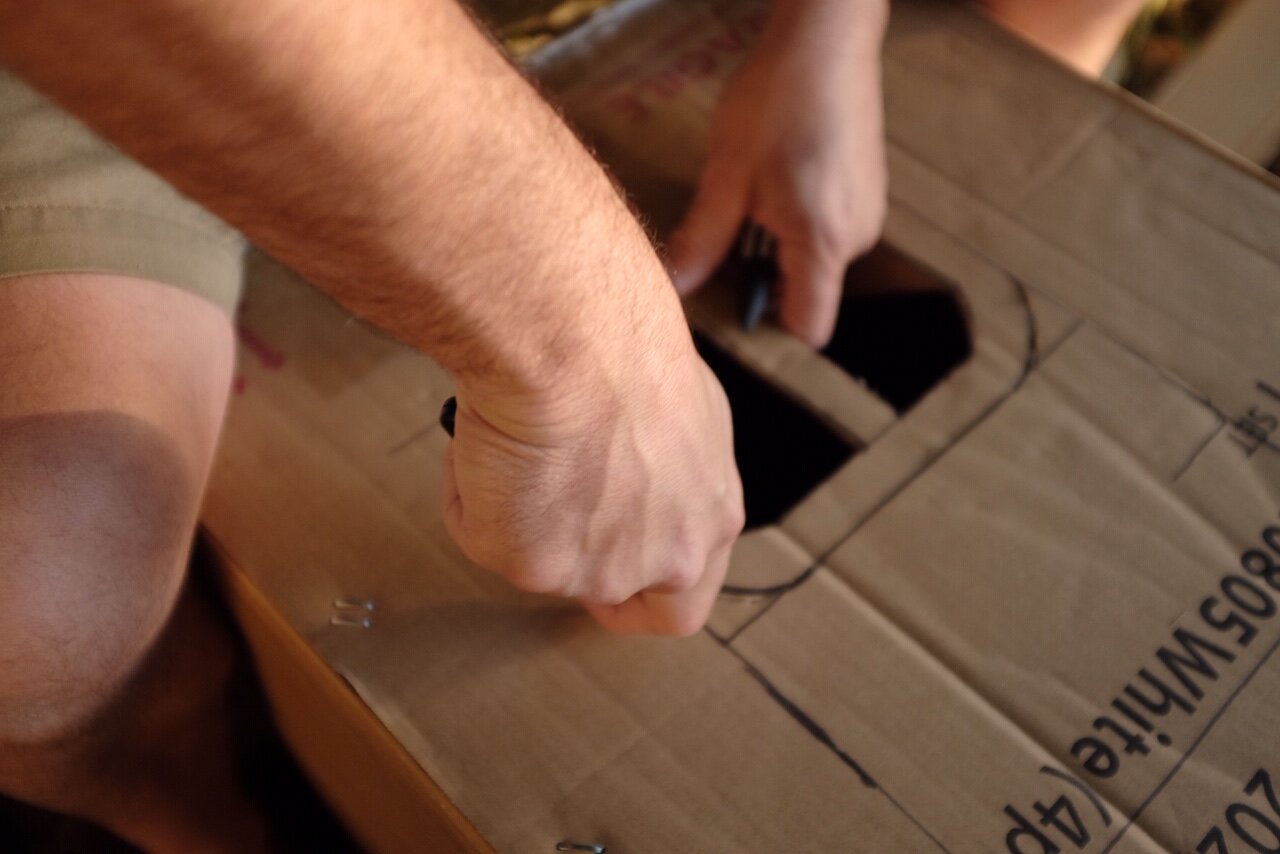
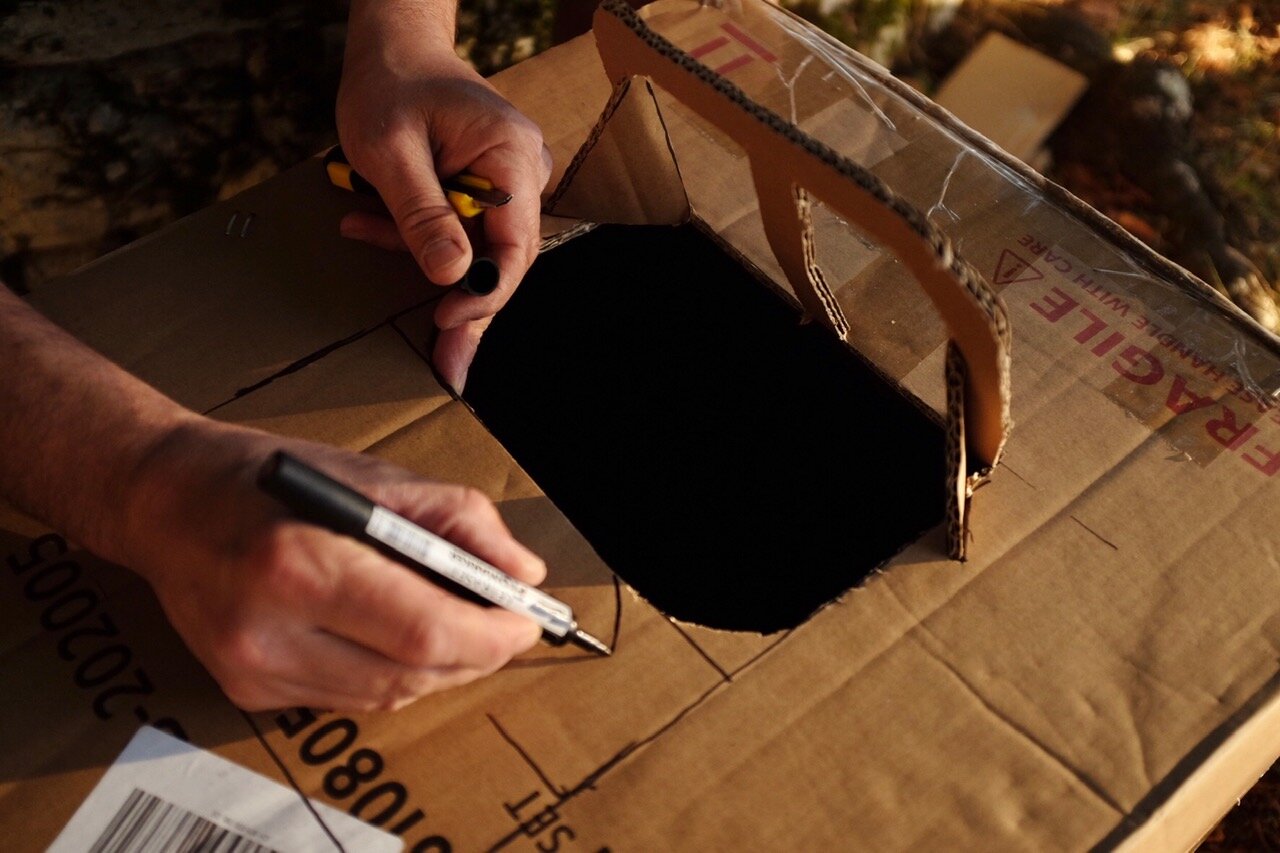
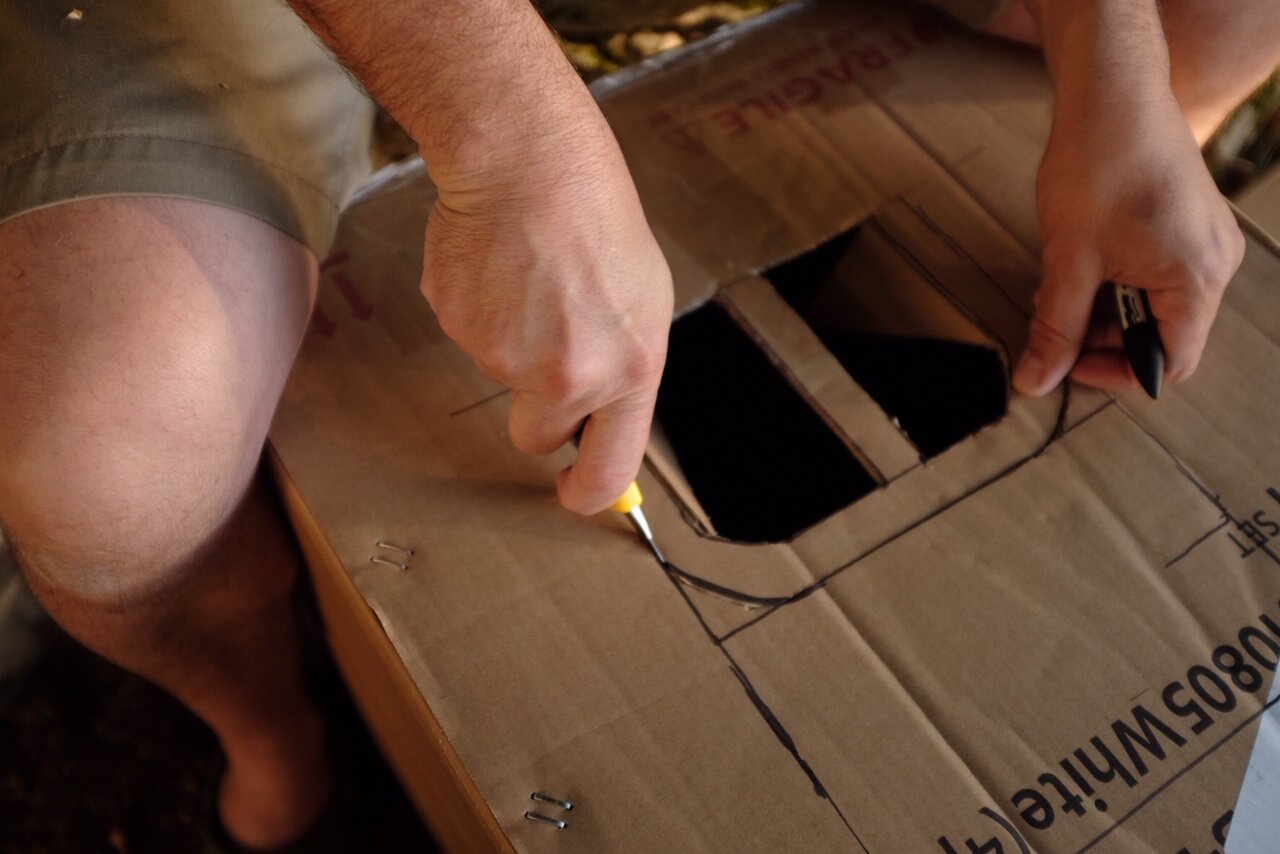
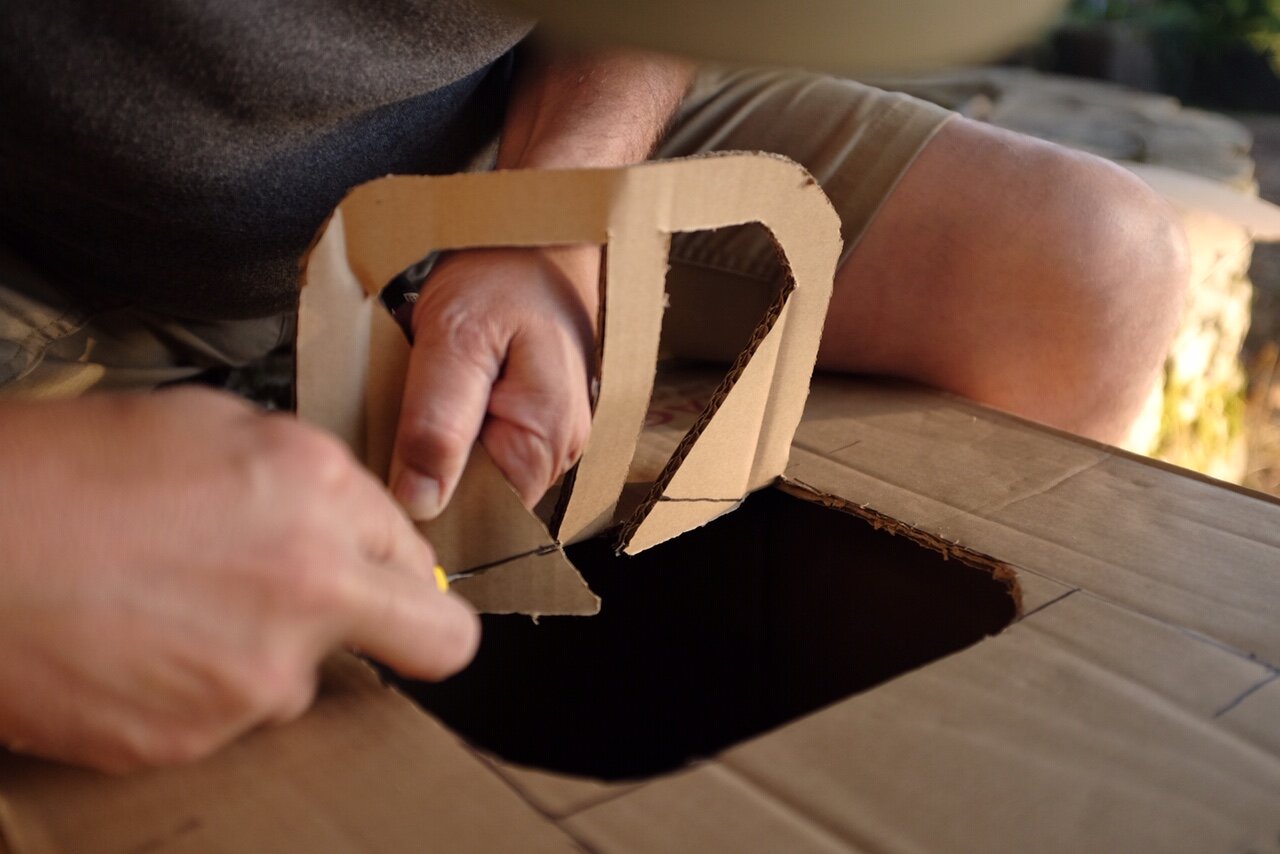
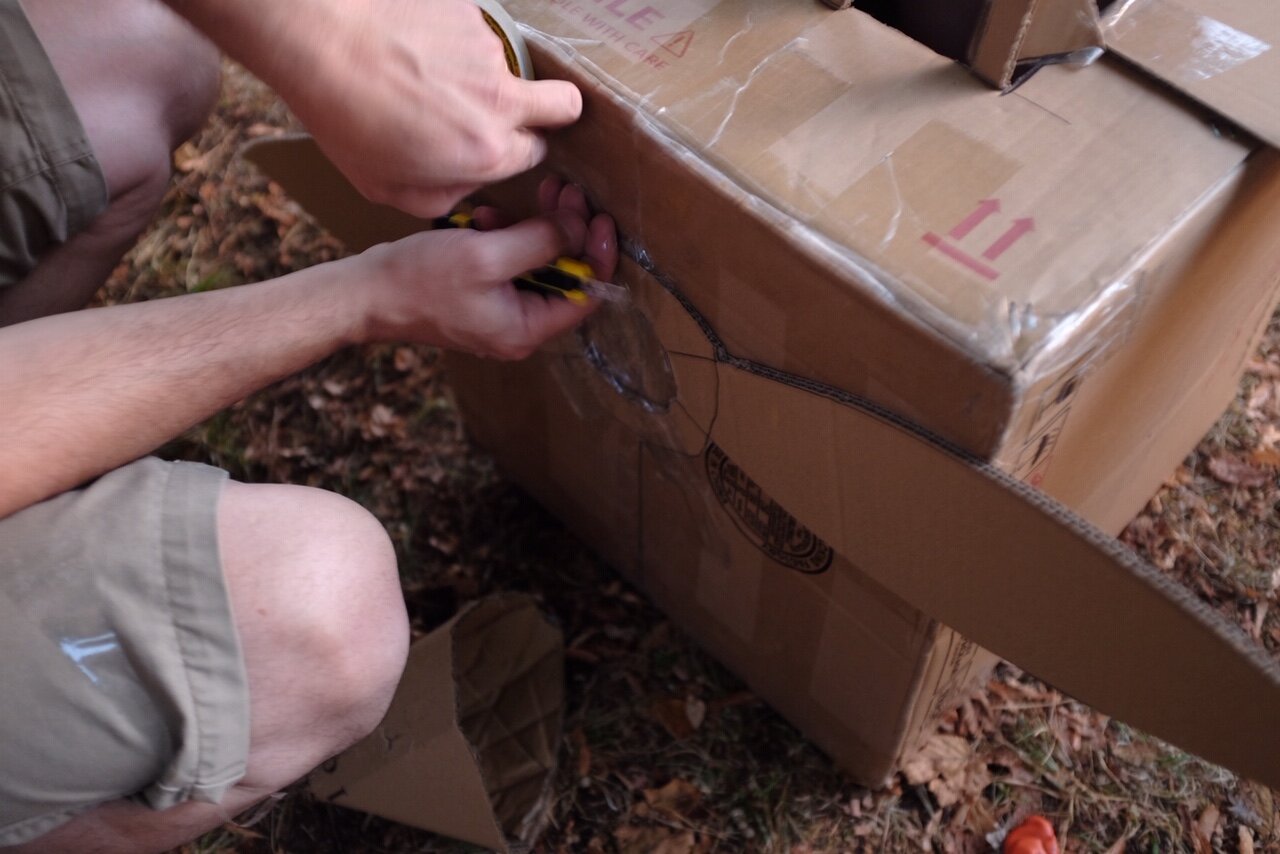
Draw a rectangular shape divided into two parts and cut it as done in the following pictures for the window of the cockpit.
Do the same in the other part of the cabin to simulate the back of the pilot seat. Draw and cut a rectangular big enough to let your kid go inside.
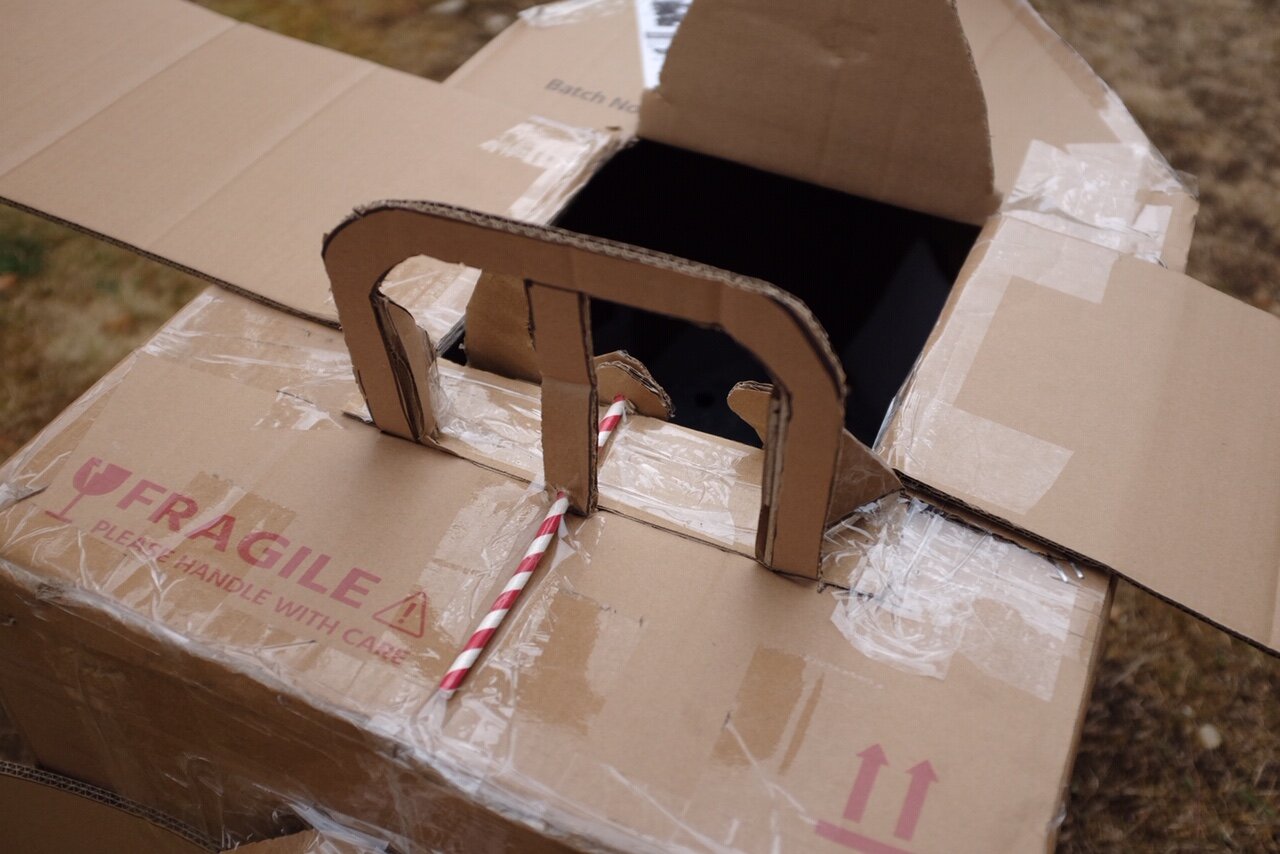
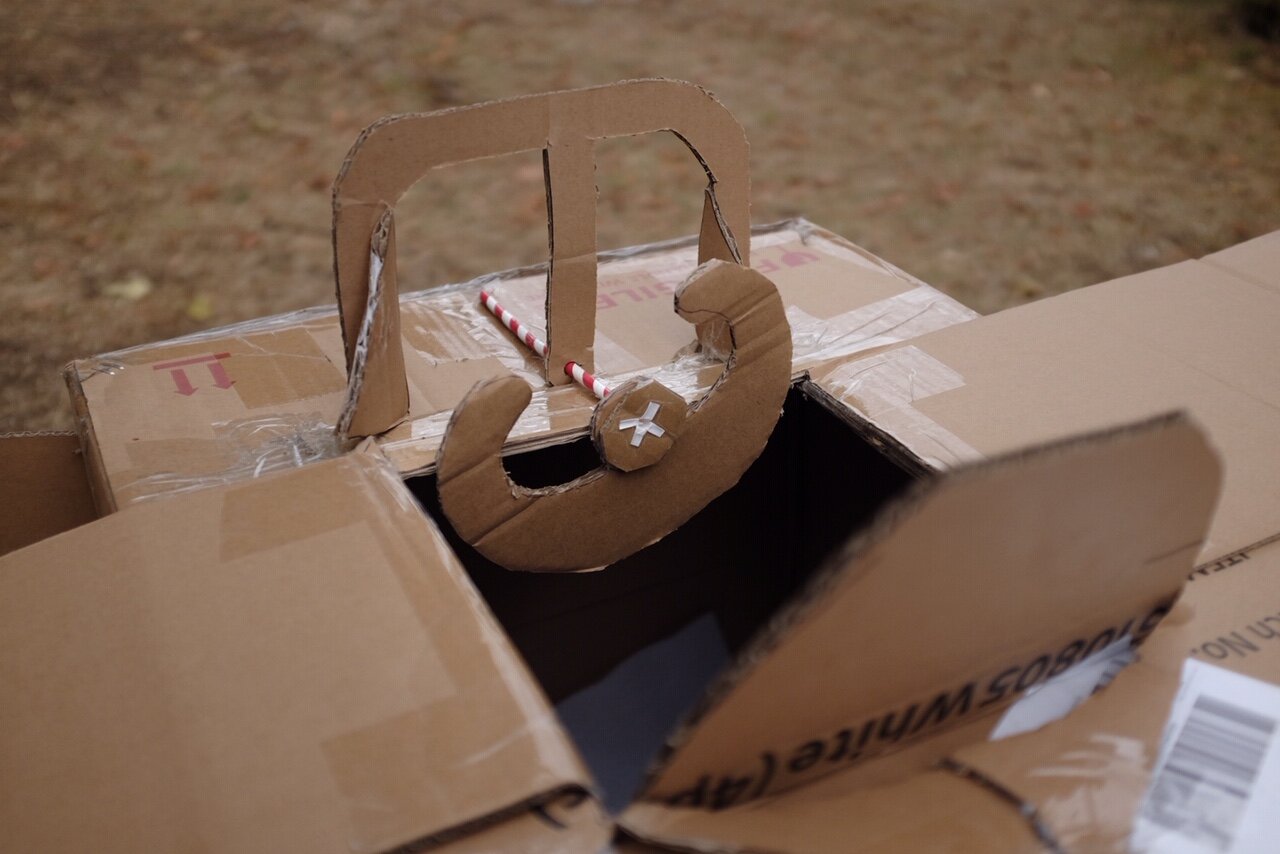
Draw, cut and add the propeller with the help of a bit of scotch as following:
Cut and add two rectangular pieces of cardboard with similar size to make the wings.
Design, cut and add the controls and command as you like. See an example in the picture, added with a paper straw.
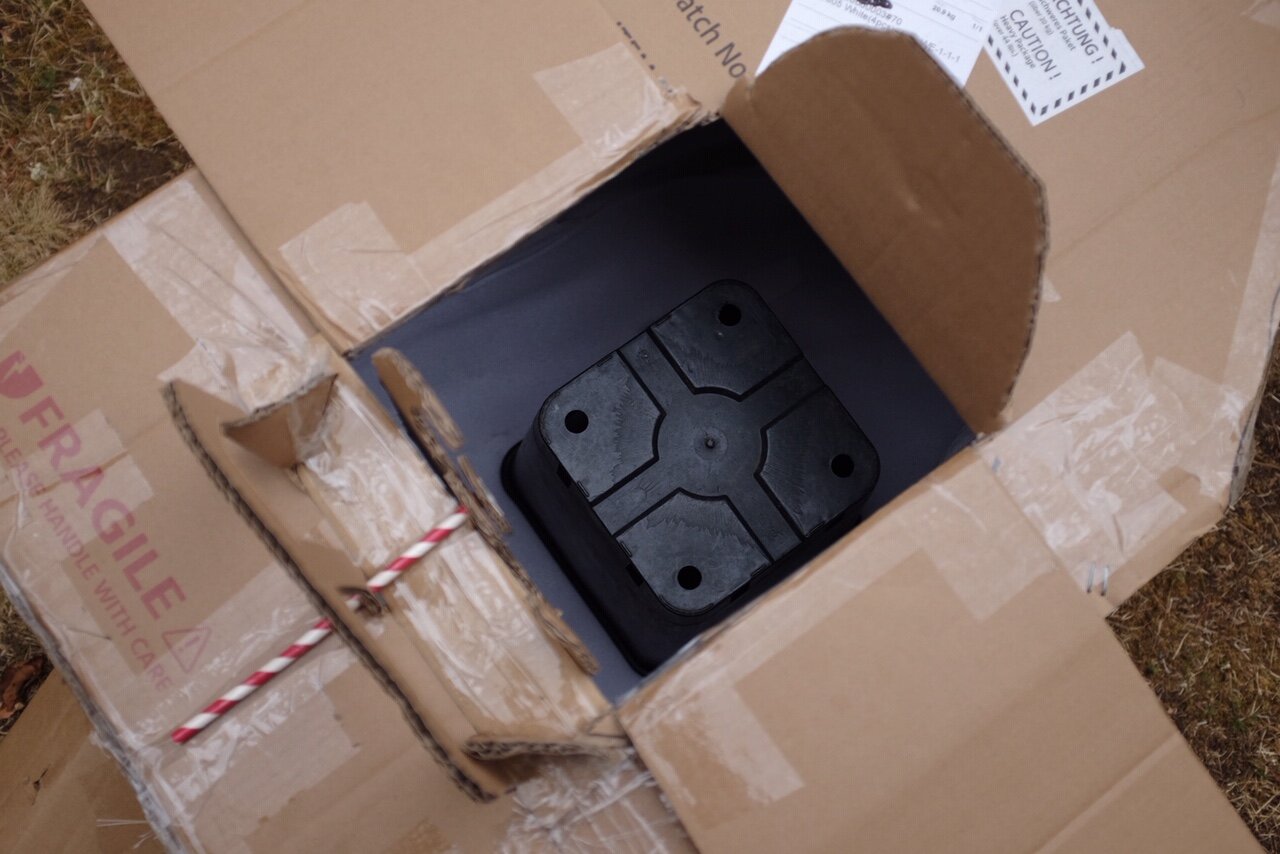
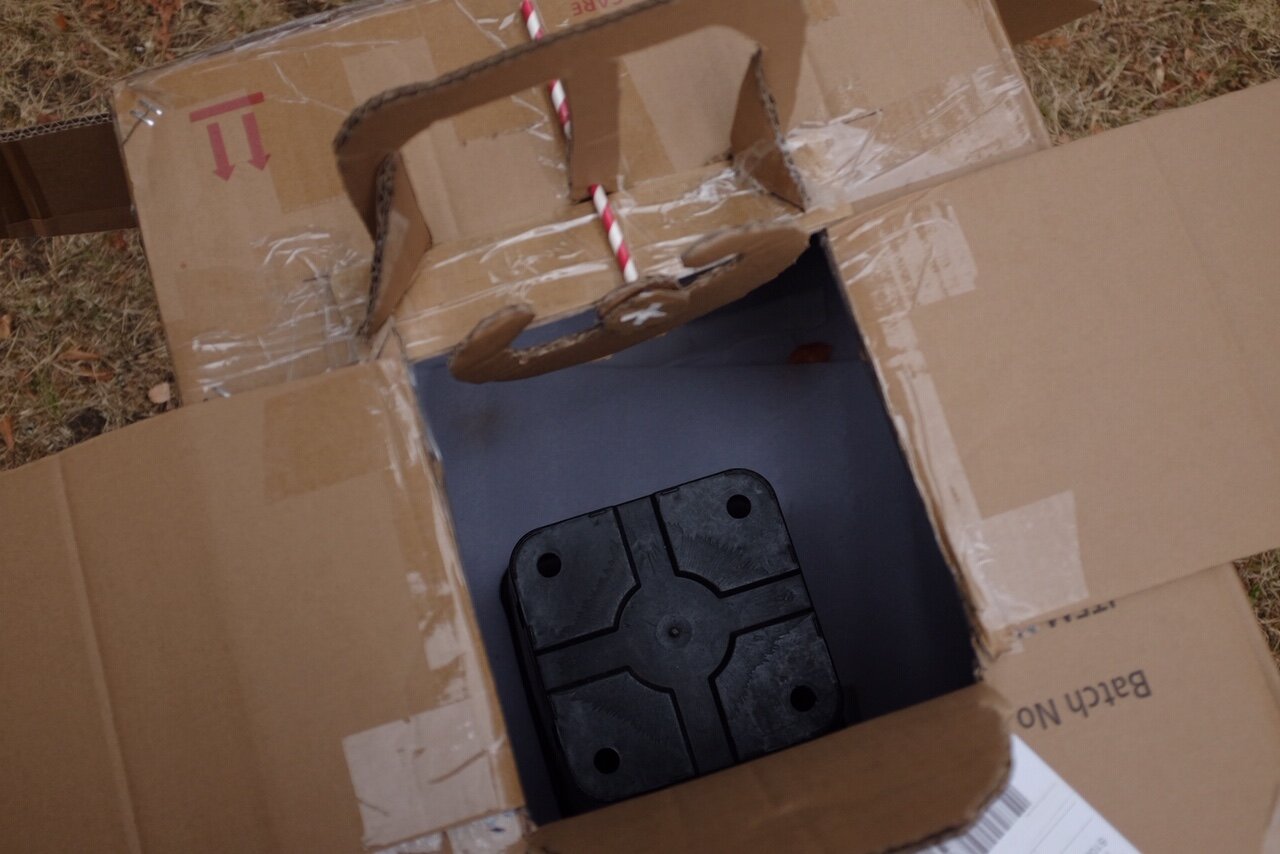
Add a flower pot inside of the plane (or whatever you have at home) as a seat for your kid.
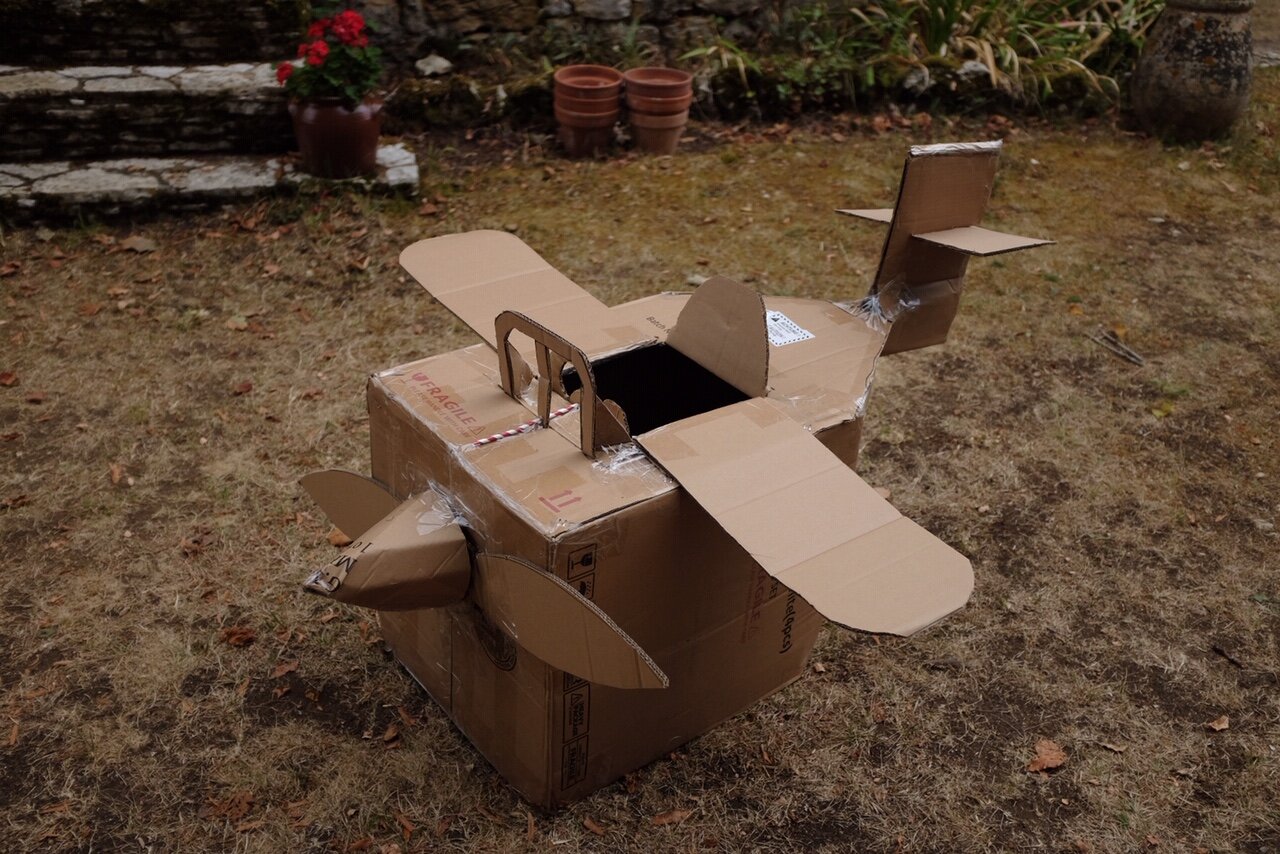
That’s it! You’ve got a cardboard box airplane for your kids. You can paint it if you like.